Crew Connection: Baseline Testing Instructions
Welcome to your Baseline Testing! The goal of this process is to give us a clear, measurable snapshot of where you're at right now, across performance, strength, mobility, and flexibility. This allows us to personalise your training and track your development over time.
Please take your time, follow the instructions carefully, and be honest with your data. If you’re unsure about anything, feel free to reach out.
1. Personal Information
Name: First and last name.
Weight Class: Select lightweight or open weight.
2. Erg Performance Metrics
These are the rowing benchmarks that help us gauge your current aerobic and anaerobic capacity on the erg.
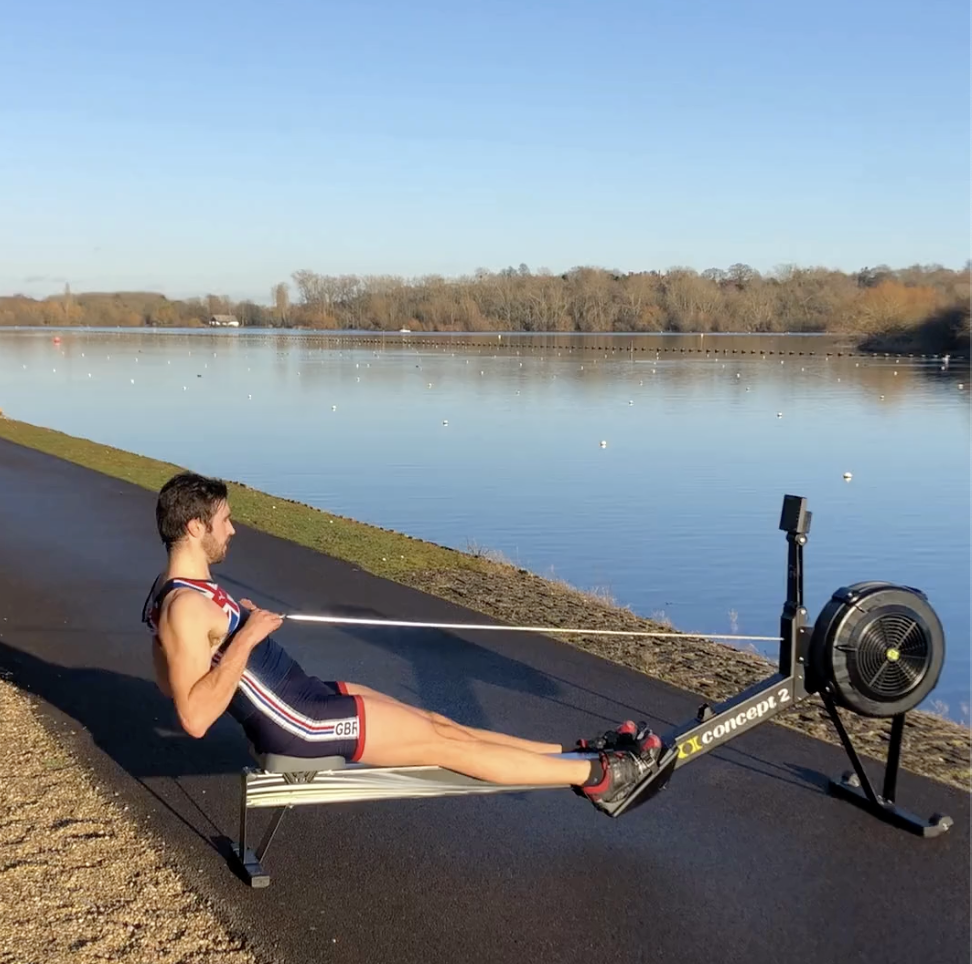
10 Stroke Power: Perform 10 strokes at max pressure from a static start. Record your max watts.
250m Time: Row 250m at race pace. Record your average split (time per 500m).
2k Test: Your most recent 2,000m test. Record the average split.
5k or 6k Test: Enter your most recent long test result. Record the average split.
30-minute Rate 20: If you have done the test, record your best 30 minutes rate 20 score. Record your average split.
UT2 Split: Record your average split during steady-state work (usually around rate 19-20, heart rate normally around 145-150).
3. Strength Testing
Use your most recent results for your 1-rep max. If you don’t know your 1-rep max (1RM), list the amount of weight lifted and how many reps completed - we can estimate your 1-rep max.
Leg Press – 1RM in kg or lbs
Technique:
Using a leg press machine, sit down on the machine and place your legs on the platform directly in front of you at a medium (shoulder width) foot stance.
Lower the safety bars holding the weighted platform in place and press the platform all the way up until your legs are fully extended in front of you.
As you inhale, slowly lower the platform until your upper and lower legs make a 90-degree angle.
Pushing mainly with the heels of your feet and using the quadriceps go back to the starting position as you exhale.

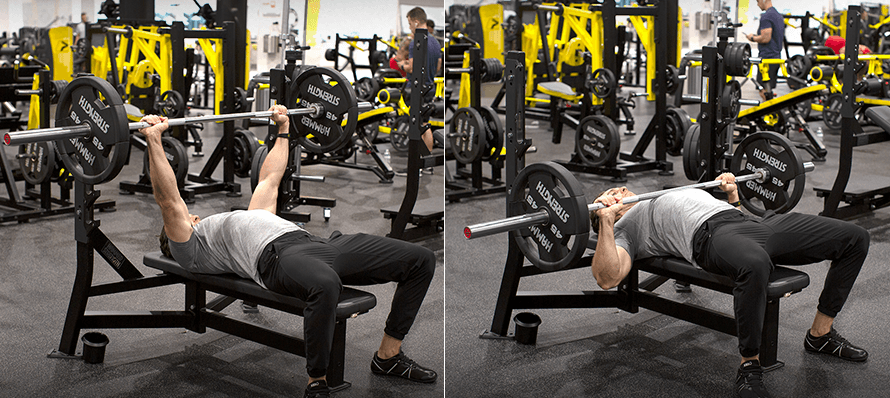
Bench Press – 1RM in kg or lbs
Lie back on a flat bench. Using a medium width grip (a grip that creates a 90-degree angle in the middle of the movement between the forearms and the upper arms), lift the bar from the rack and hold it straight over you with your arms locked. This will be your starting position.
From the starting position, breathe in and begin coming down slowly until the bar touches your middle chest.
Push the bar back to the starting position as you breathe out. Focus on pushing the bar using your chest muscles. Lock your arms and squeeze your chest in the contracted position at the top of the motion, hold for a second and then start coming down slowly again.
When you are done, place the bar back in the rack.
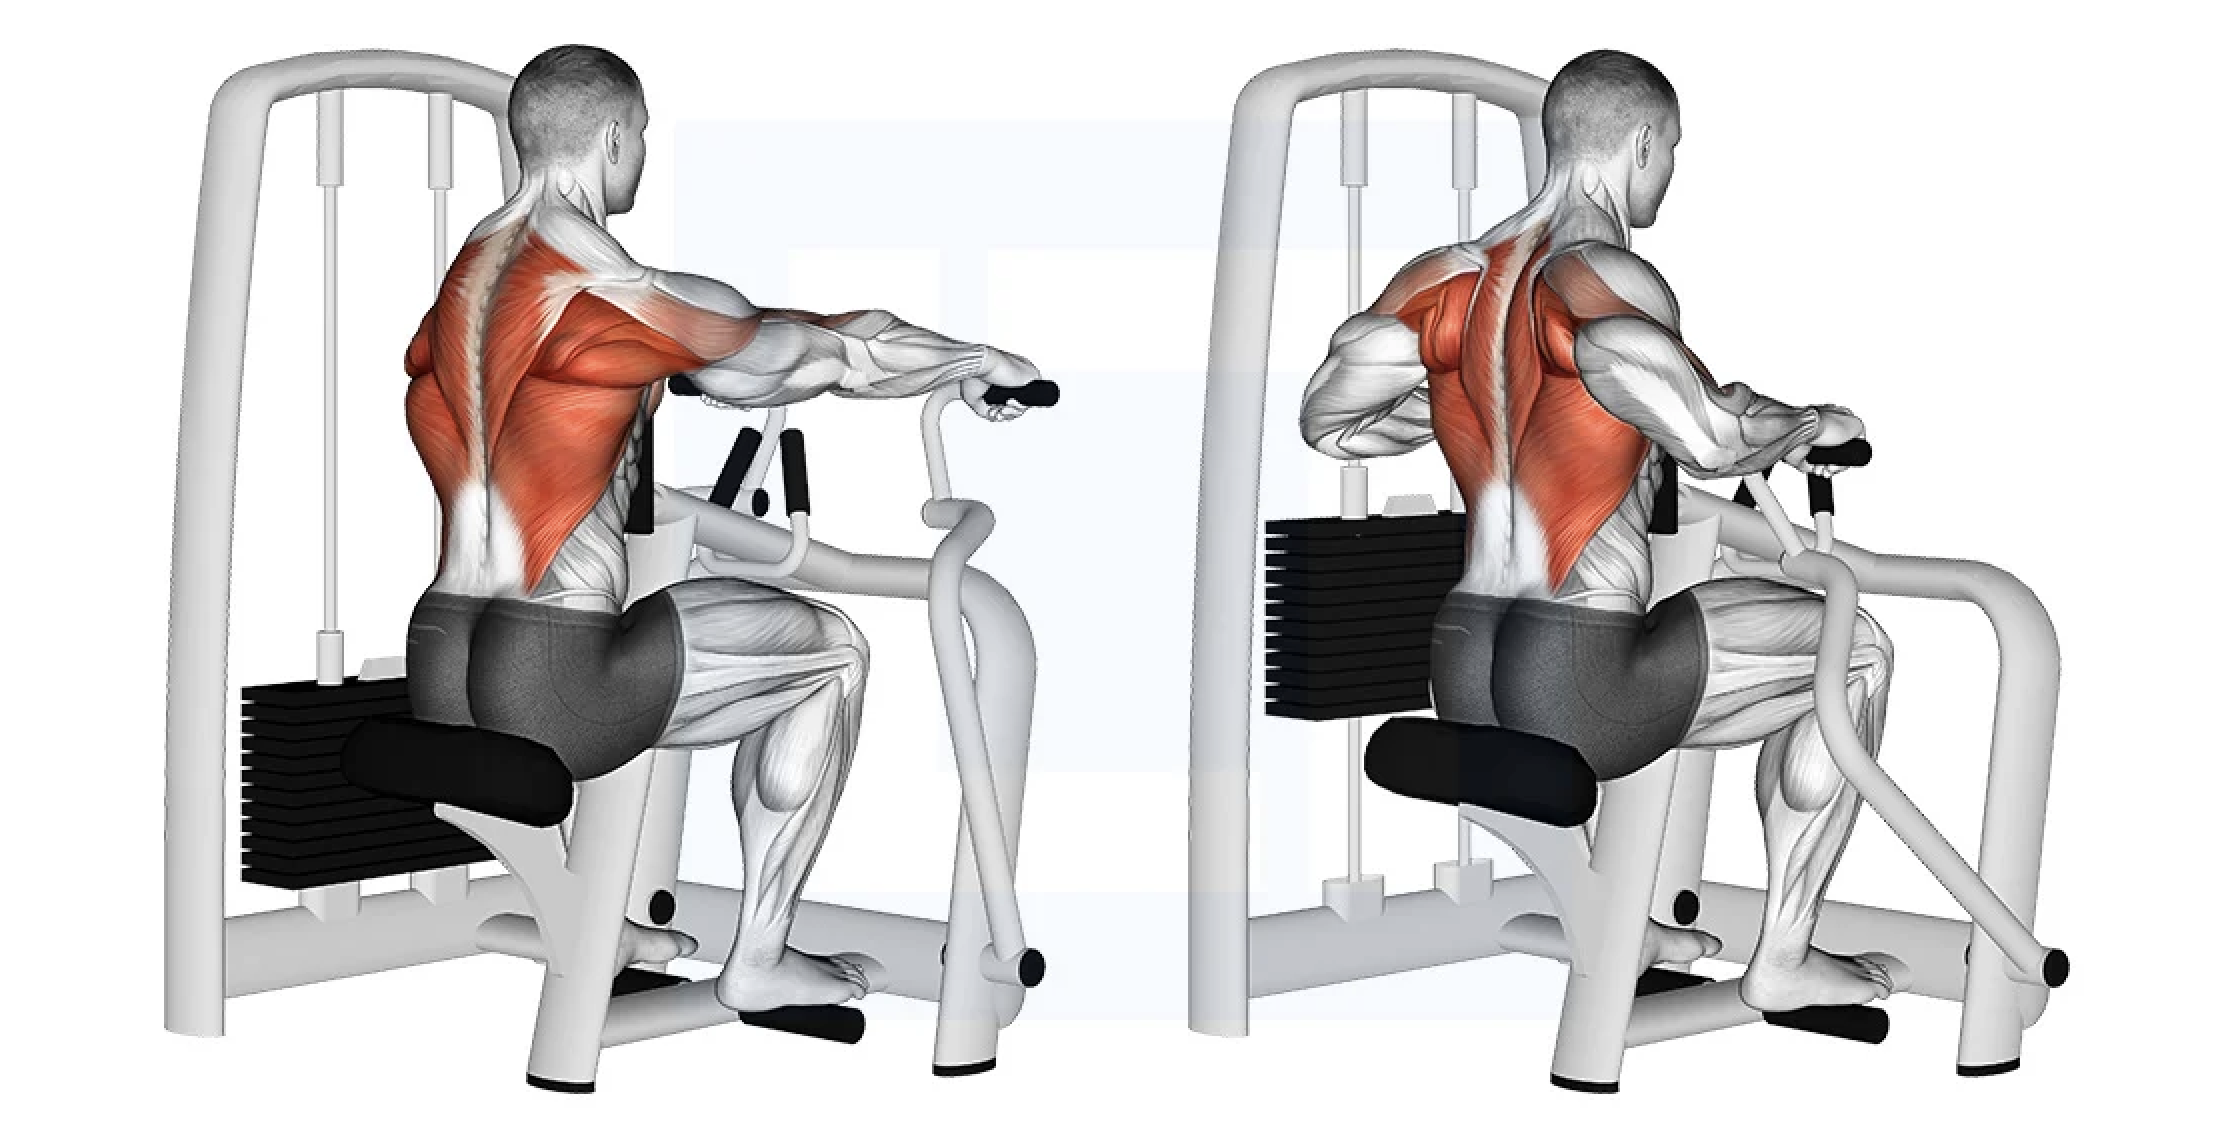
Seated Row – 1RM in kg or lbs
Seated Row Machine begins in a seated position on a row machine, with knees bent and feet on the platform of the machine, chest resting on the padding in front of you, with the spine upright and vertical, the crown of the head tall, arms extended forward in front of you from the shoulders, hands gripping the row machine handles in a neutral grip (palms facing one another).
Lat Pull Down – 1RM in kg or lbs
Sit at the lat pulldown machine with your thighs secured under the pads.
Reach up and grab the bar with a wide, overhand grip (palms facing away).
Keeping your chest lifted and core engaged, pull the bar down toward your upper chest, focusing on engaging your back and driving the elbows down and in.
Slowly return the bar to the starting position with control. Avoid using momentum or leaning too far back.

4. Biometric Data
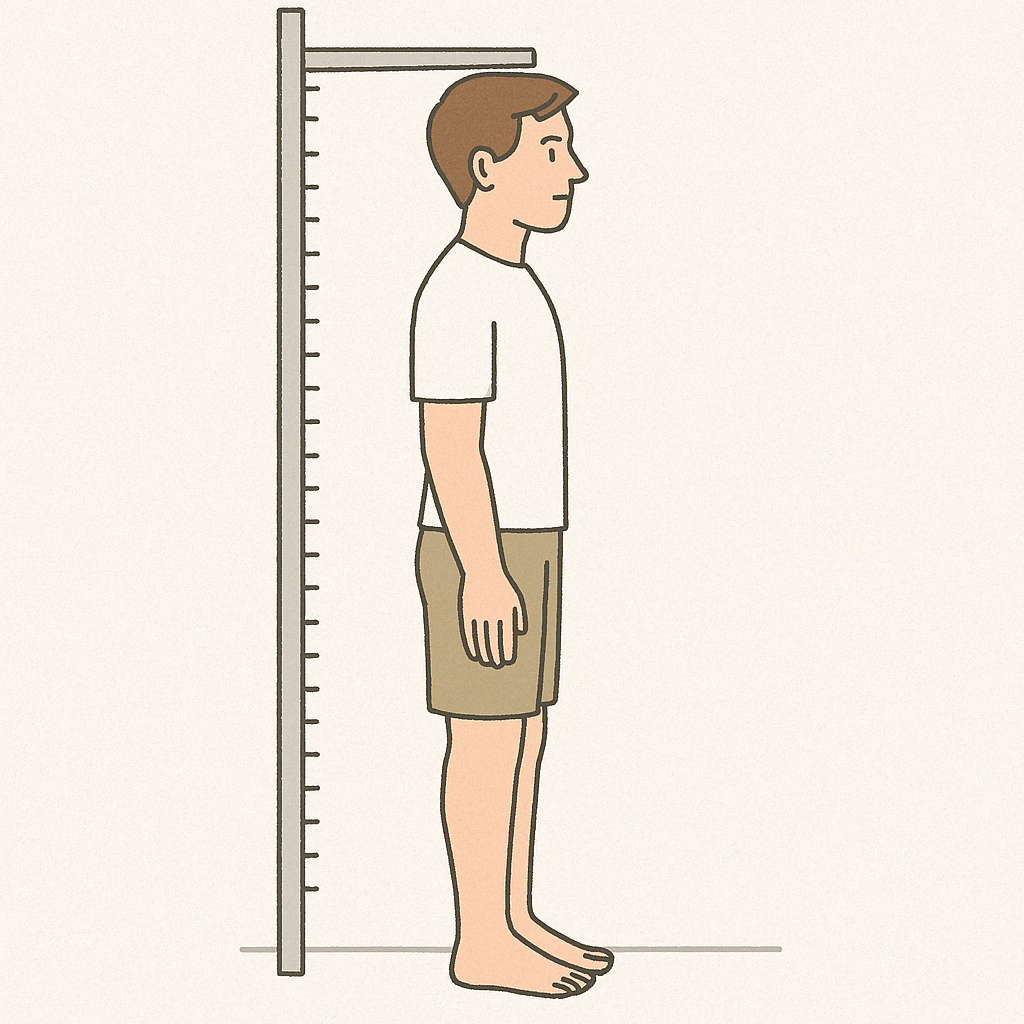
Height
What you need: A wall, flat surface, and a tape measure or ruler
How to measure:
Stand with your back against a wall, feet flat and together, without shoes.
Keep your heels, back, and head touching the wall if possible.
Use a flat object (like a book) to rest on the top of your head and mark the wall.
Measure from the floor to the mark using a tape measure.
Record in cm or feet and inches
Wingspan
What you need: A measuring tape and another person (recommended)
How to measure:
Stand with your back against a wall and arms stretched out straight to the sides at shoulder height (like a “T”).
Keep your fingers fully extended.
Measure from the tip of one middle finger to the tip of the other.
Record in cm or feet and inches.

Weight
What you need: A reliable bathroom scale
How to measure:
Weigh yourself first thing in the morning, after using the bathroom and before eating or drinking.
Wear minimal or consistent clothing (e.g., shorts and a t-shirt).
Stand still on the center of the scale.
Record in kg or lbs (to the nearest 0.1kg or 0.1lbs if possible).

5. Core Stability
Test how long you can hold each position with proper form. If you reach 150 seconds (2 minutes 30 seconds), you can stop - you have completed the test.
Partner Flat Bench Back Hold
What you need: A flat bench, a stopwatch, and a partner
Instructions:
Set up on the bench:
Lie face down (prone) on a flat bench with your torso extending off the end — your shoulders and head should be off the bench, while your midsection and legs remain supported.Partner support:
Your partner should stand behind the bench and firmly press down on your upper hamstrings to hold you in position.Starting position:
Cross your arms over your chest. Keep your body in a straight line, with your head, shoulders, hips, and feet aligned.Execution:
Engage your lower back and glutes to raise your upper body until it is parallel with the ground. Hold this position with a neutral spine — no arching or sagging.Timing:
Start the stopwatch once you're in position.
Stop when your back begin to drop or your form breaks.
If you reach 150 seconds, stop — you've completed the test.
Record: Time held (in seconds)

Partner Flat Bench Front Hold (Facing Up)
What you need: A flat bench, a stopwatch, and a partner
Instructions:
Set up on the bench:
Lie on your back on a flat bench so that your upper body extends off the end - your hips should be positioned at the edge, with your shoulders, upper back, and head unsupported.Partner support:
Your partner should stand behind the bench and press down firmly on your thighs or upper hamstrings to keep your body anchored and stable.Starting position:
Cross your arms over your chest. Keep your legs straight and body in a straight line, with your core engaged and hips extended.Execution:
Brace your core and glutes to hold your upper body straight and lifted. Your torso should remain parallel to the floor, without sagging or arching. Maintain a neutral neck position, looking straight up.Timing:
Start the stopwatch when you're in position.
Stop when your hips drop, form breaks, or when you reach 150 seconds.
Record: Time held (in seconds)

Left and Right Side Plank Hold
Instructions:
Lie on your left side on a flat bench, with your hips positioned at the edge of the bench and your upper body hanging off the end.
Stack your legs, keeping them straight, with your partner firmly holding down your thighs or upper legs to anchor you.
Cross your arms over your chest, or place your top hand across your body.
Engage your obliques and core to lift and hold your torso in a straight line, parallel to the floor.
Keep your neck neutral and avoid twisting or sagging at the hips.
Timing:
Start the stopwatch once you’re in position.
Stop when your hips begin to drop or your form breaks.
Stop at 150 seconds if still holding with good form.
Record: Time held (in seconds)

6. Flexibility & Mobility Tests
Follow each test description and record the result carefully.
Sit-and-Reach Test:
Sit on the floor with your legs straight out in front of you and your feet flat against a box or wall. Keep your knees straight and stack your hands, one on top of the other.
Slowly reach forward as far as you can, keeping your hands level and your movement controlled.
Measure the distance your fingertips reach past your toes (positive value) or short of your toes (negative value). Record the result in centimetres (cm). This test assesses hamstring and lower back flexibility.

Knee-to-Wall Test:
Begin in a lunge position, facing a wall. Keep your front foot flat, making sure the heel stays on the ground at all times.
Slowly move your front foot away from the wall and try to touch your knee to the wall without the heel lifting. Adjust your foot position until you find the maximum distance at which your knee can still touch the wall while keeping your heel firmly down.
Measure the distance from your big toe to the wall and record the result in centimetres (cm). This test helps assess ankle mobility and dorsiflexion range.

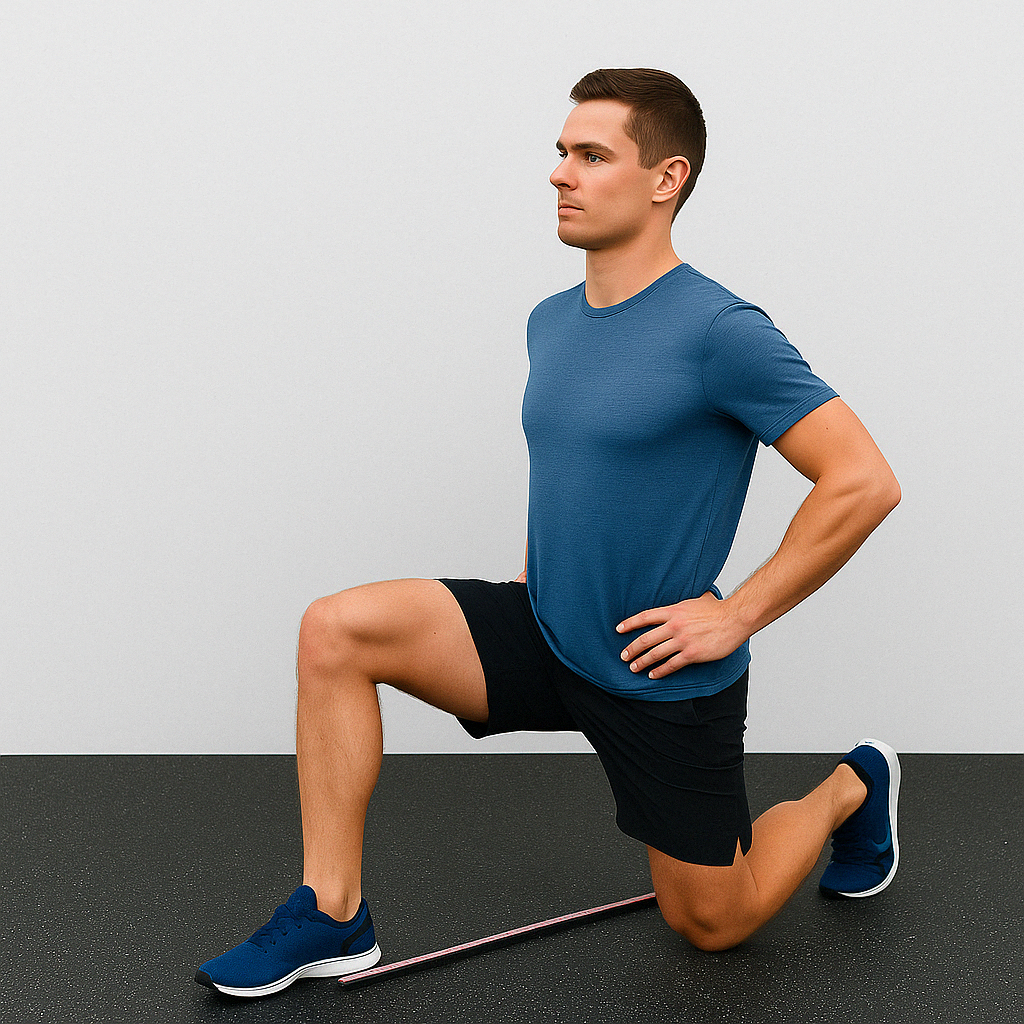
Hip Mobility (Deep Lunge Test):
Step into a deep lunge position, ensuring your front foot is flat on the ground and your torso remains upright. Your back knee should be resting lightly on the floor, with both hips square.
Using a measuring tape, measure the distance from the back of your front heel to the front of your back knee.
Record the distance in centimetres (cm).
Once you've completed all the tests, please share any supporting videos or photos of your erg screens directly with us via email or in your WhatsApp group. This baseline will help us tailor your training, identify key areas for growth, and track your progress over time.
We’re excited to work with you - let’s build from here!